
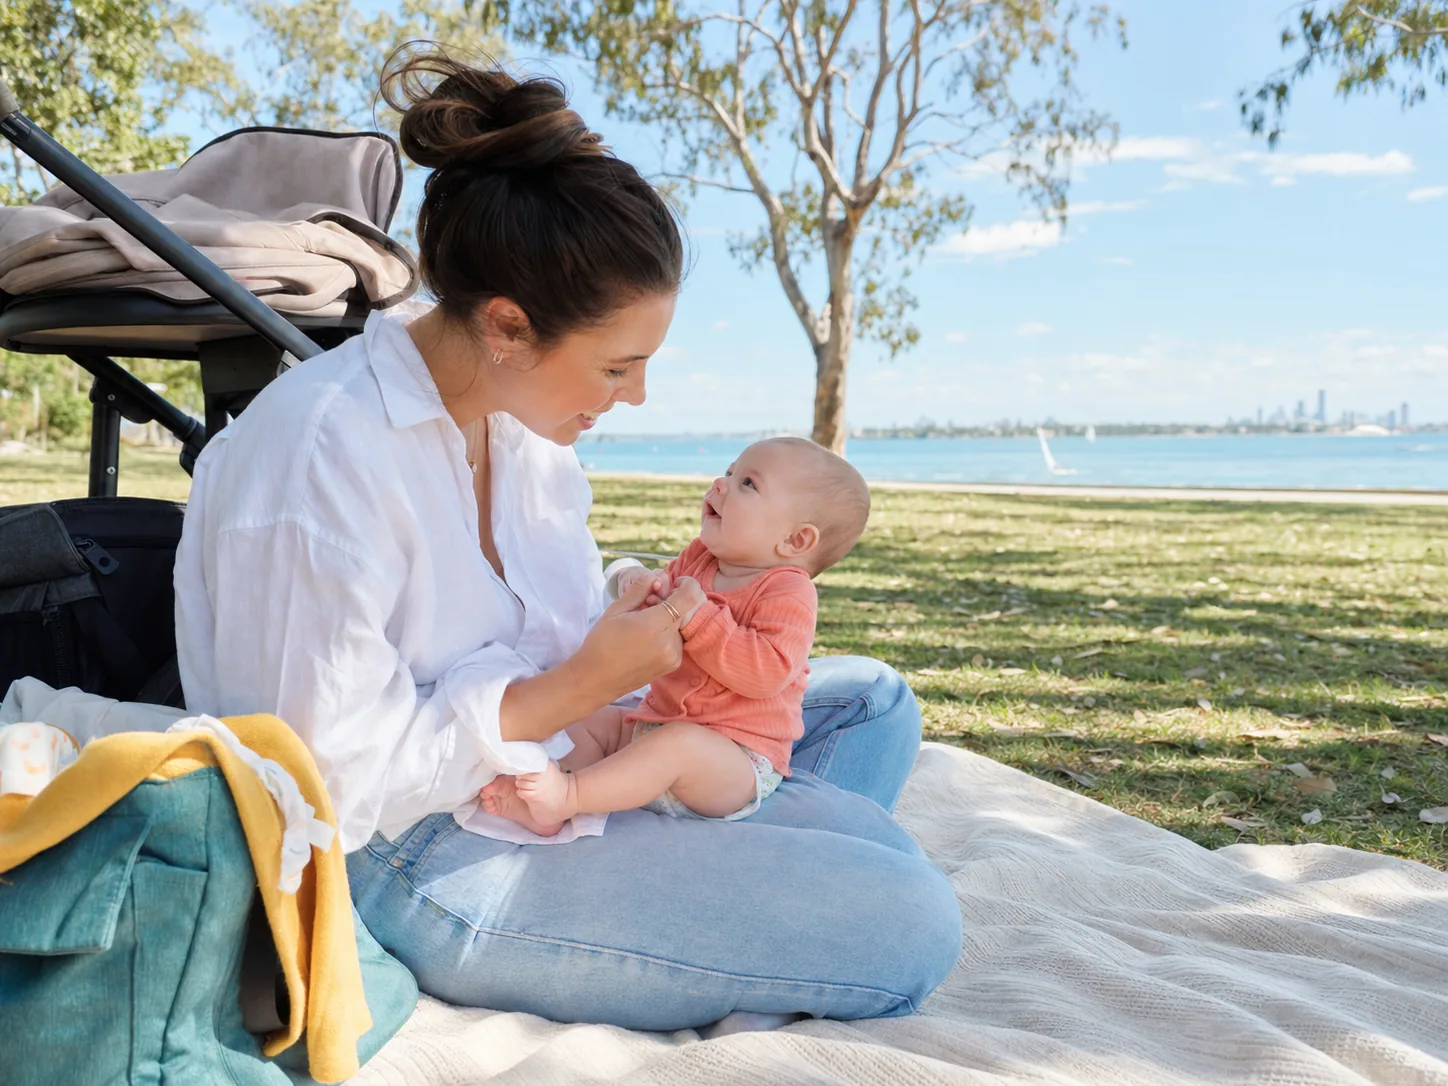
You can take noticeably better baby photos with any recent phone by doing five things: clean the lens, move towards soft window light, get down to your baby’s eye level, tap the face to set focus and brightness, and take a short sequence instead of waiting for one perfect frame. Good timing matters more than an expensive camera. Start after a feed or sleep, keep the setup simple and stop when your baby has had enough.
Start with a safe, calm setup
Choose the photograph around your baby’s routine, not the other way around. An alert baby may give you eye contact after a feed; a sleepy newborn may be easiest to photograph in a parent’s arms. A crawling baby might last only two minutes. That is enough.
For an awake photo, clear a patch beside a window and use a firm play mat or plain blanket spread flat on the floor. Remove cords, hot drinks, unstable objects and choking hazards. Keep an adult beside the baby.
Avoid a bed, couch, bench or change table simply because the background looks attractive. ACCC Product Safety advises that the floor is the safest alternative when a change table is unavailable and that babies must not be left unsupervised on raised surfaces. If you need both hands for the phone, use the floor or have another adult responsible for the baby.
Do not copy complex newborn poses. Some professional images are composites made while trained hands support the baby. At home, photograph natural positions. Keep the airway clear, never balance the head on the hands and do not place a baby inside buckets, baskets or boxes.
If your baby is asleep, do not rearrange the cot for a photograph. Keep them on their back in a clear, firm, flat sleep space with their head and face uncovered. Photograph from beside the cot rather than adding toys, loose blankets or cushions to the scene.
Set up your phone before the moment starts
You do not need to explore every camera setting. Make these few changes once, then leave the phone ready.
Clean the lens
A phone lives in pockets and hands, so its lens collects skin oil quickly. That creates a milky haze around windows and faces. Wipe each rear lens gently with a clean microfibre cloth. Check the front lens too if you plan to take a parent-and-baby selfie.
Use the standard camera lens
Start at 1x. This is usually the phone’s best general-purpose camera and gives a natural result without making a baby’s forehead, hands or feet look unusually large. Avoid pinching to zoom. Digital zoom throws away detail; take one step closer instead, provided you can do so without leaning over or crowding the baby.
An ultra-wide lens can help in a small nursery, but faces stretch near the frame edges. A 2x or 3x lens can make a good portrait in a bright room but often blurs indoors.
Turn on the grid and turn off flash
The grid helps keep door frames and cot rails straight. Leave the built-in flash off; its small, direct light flattens faces and creates hard shadows. Move nearer a window instead.
Keep Live Photos, Motion Photos or the equivalent feature switched on if your phone has it. The short recording around each press lets you choose a better expression later. It is particularly useful for blinks, yawns and the half-second when siblings both look towards you.
Use this five-minute photo sequence
Do not try to create ten unrelated setups. Stay in one safe place and change your distance and angle. You will get a more complete record with less disruption.
1. Take the scene
Stand back to include context: a parent in the nursery chair, morning light across the play mat or a toddler meeting their sibling. Check the frame edges and move one or two distracting objects.
2. Move in for the portrait
Lower yourself to face level and tap the nearest eye. Use the brightness slider to protect pale skin or lift a dark face. Hold the phone with two hands and take four or five frames; the strongest image is often the quiet look between smiles.
3. Change your angle, not the baby
Move about 30 degrees to one side. Try a frame from a parent’s shoulder or a top-down photograph while standing beside a baby safely on the floor. Never stand on furniture or hold the phone above the baby’s face with one hand.
For a newborn in a parent’s arms, ask the adult to turn their body towards the window, then bring the baby’s face slightly towards the light. Keep the pose comfortable and supported. Hands holding a tiny back or head are part of the story; they do not need to be hidden.
4. Record the details
Photograph details that change quickly: the crown, lips, a hand around a parent’s finger, wrinkled feet or hospital bracelet. Use 1x, move closer slowly and tap the detail. If focus fails, move back a few centimetres.
5. Put a parent in the frame
Do not leave one parent permanently behind the camera. Use a secure floor-level phone stand out of reach or ask another adult. A timer gives you time to look at the baby instead of the screen.
For a quick selfie, face a window and hold the phone just above eye level, far enough away to include both faces. Use the volume button as the shutter if that feels steadier. Take a burst while talking to your baby, then choose one frame rather than trying to hold a fixed smile.
Make moving babies easier to photograph
Shutter delay and dim rooms cause most blur. Move into brighter light first. On many phones, holding the shutter starts video rather than a photo burst, so learn your model’s burst gesture before you need it. Burst mode is useful for crawling, first steps and cake-smash moments because it records a run of frames.
Give an older baby something safe to do. Place a familiar toy beside you, play peekaboo or ask another adult to sing near the lens. Do not call their name repeatedly; a quiet pause often brings their attention back.
For siblings, ask the older child to count toes or show a board book instead of demanding eye contact. An adult should support the baby unless the older child can hold them safely.
Fix common phone-photo problems
The face is blurry
Clean the lens, add more light and tap the eye before shooting. Brace your elbows against your body. If the baby is moving, take a burst. Portrait mode can misread wispy hair and fast hands, so switch back to the normal Photo mode when its edges look patchy.
The window is bright but the baby is dark
You are probably photographing towards the window. Move so the window is beside you or behind you, then tap the baby’s face. If you want a backlit look, tap the face and raise the exposure slightly, accepting that the window itself may become white.
Indoor skin looks yellow or orange
Household lights and daylight have different colour temperatures. Switch off ceiling lights and lamps, then use window light alone. If the photo is still too warm, make a small warmth adjustment in the phone editor rather than applying a heavy filter.
The room looks cluttered
Simplify only what falls inside the frame. A plain wall, curtain or parent’s shirt can become the background. Change camera position before moving furniture.
Portrait mode looks artificial
Increase the gap between baby and background and check fingers, ears and hair. If the effect still cuts into the subject, use the standard photo.
Edit lightly and keep the original
Use the built-in editor to straighten, crop distractions, lift shadows and reduce bright highlights. Adjust skin colour conservatively. Redness, flaky skin and small scratches are part of this stage; removing every mark can make the photograph feel less like your baby.
Avoid filters that turn whites brown, grey or blue. Keep the original, back up favourites and share the full-resolution file when someone plans to print it; messaging apps may reduce quality.
Share baby photos with privacy in mind
A useful family photograph does not have to become a public post. Before sharing, look beyond the baby and check the whole frame for a street number, childcare logo, hospital label, car registration, family calendar or other detail that could reveal a name, location or routine.
Use a small, trusted audience where possible, avoid including a full name and exact birth date together, and ask before posting photographs that include another child. The Australian eSafety Commissioner notes that even privately shared images can be copied or reposted, so send the least identifying version that still tells the story.
Quick phone photo checklist
- Clean the front and rear lenses.
- Choose a calm, fed or well-rested moment.
- Use a safe floor-level setup or a supported cuddle.
- Face the baby towards soft window light.
- Switch off flash and mixed room lighting.
- Start at
1xand avoid digital zoom. - Get down to eye level and tap the nearest eye.
- Take a wide view, portrait, detail and parent photo.
- Use a short sequence or burst for movement.
- Stop when your baby turns away, fusses or needs care.
- Make small edits and back up the full-resolution originals.
Frequently asked questions
Should I use Portrait mode for baby photos?
Use it when your baby is fairly still and there is a clear gap between them and the background. Check the edges around hair, ears and fingers. Normal Photo mode is more reliable for wriggling babies, siblings and low light.
How do I get my baby to look at the camera?
Place your face close to the phone, make one gentle sound, then wait. For babies who can track objects, move a familiar toy slowly towards the lens. Eye contact is optional; photographs of a baby looking at a parent or exploring their hands can feel more natural.
Can I photograph my baby sleeping on an adult bed?
An adult bed is not a safe infant sleep surface. Photograph your baby in their normal safe cot or bassinet without changing the sleep setup, or photograph them while an awake adult holds them securely. Follow safe sleep guidance every time, even for a brief picture.
Is it better to shoot in the morning or afternoon?
Use the time when your baby is usually settled and the chosen room has bright, indirect light. East-facing rooms are often easier in the morning; west-facing rooms may be brighter later but can receive harsh direct sun. There is no single best hour for every home.
How many photos should I keep?
Keep the frames that add something: a distinct expression, detail, relationship or part of the day. From a burst of 20 nearly identical images, one or two are enough. Fewer strong photographs are easier to find, print and enjoy.
Australian safety sources
- Safe sleep for babies: Pregnancy, Birth and Baby
- Safe Sleep Image Guide: Red Nose Australia
- Change tables guide: ACCC Product Safety
- Privacy and your child: eSafety Commissioner
These sources inform the safety guidance in this article. Photography advice is general information and does not replace advice from your GP, child health nurse or another qualified health professional.