
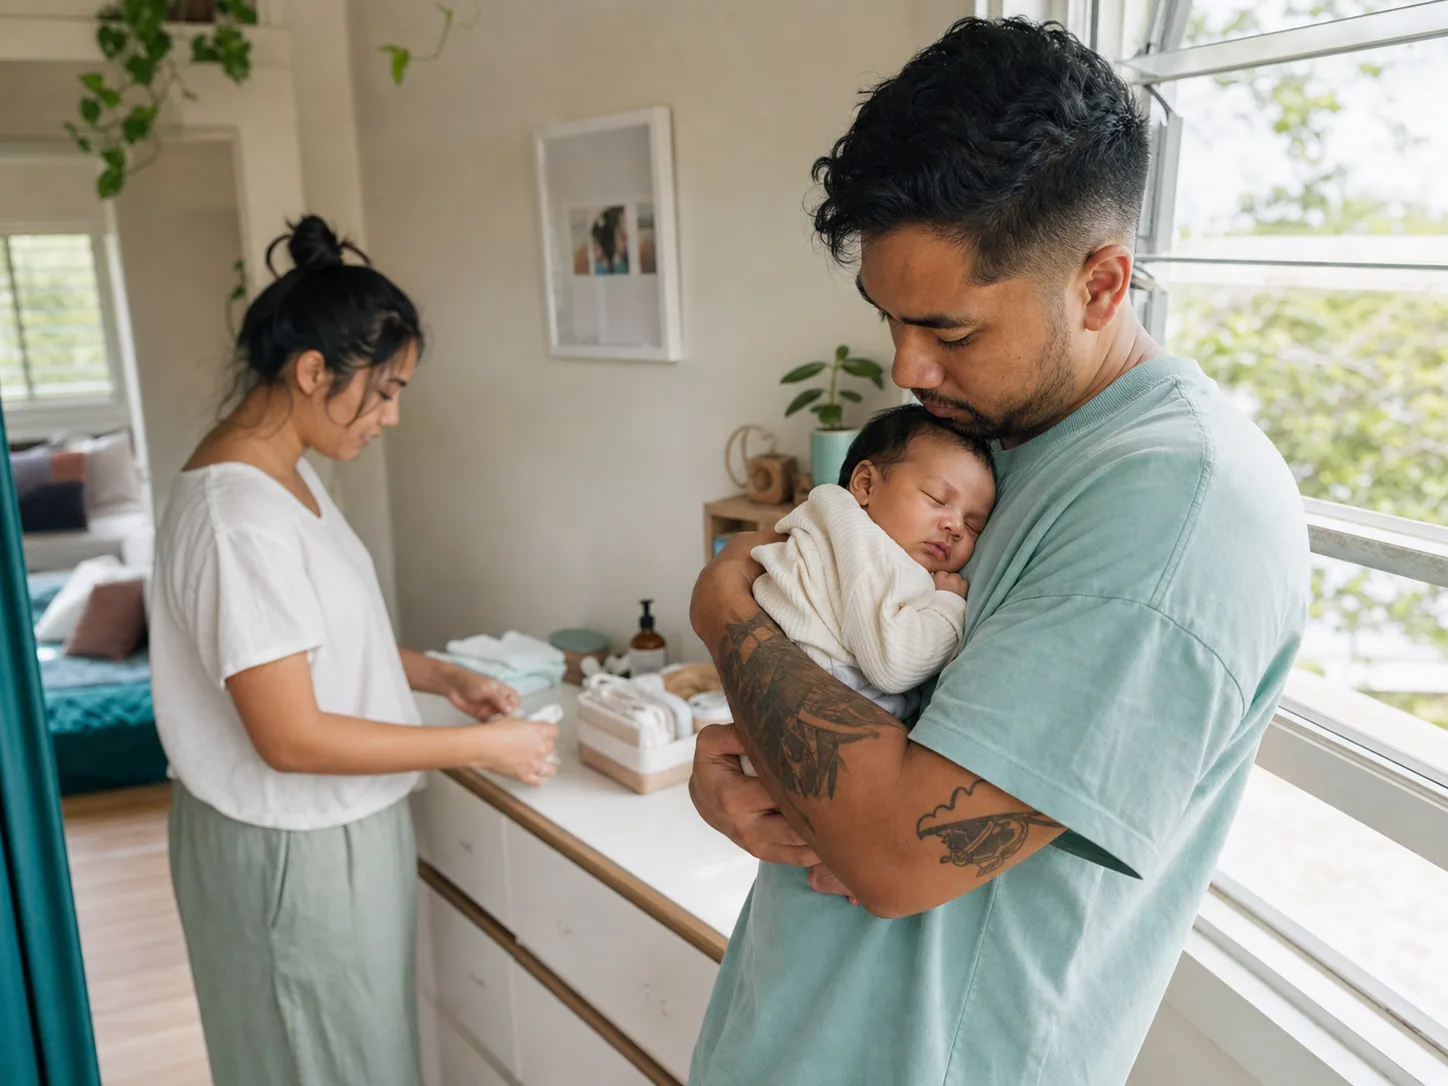
The best natural light for baby photos is bright, indirect window light coming from beside the baby’s face. Choose the largest uncluttered window in your home, switch off room lights, move one to two metres back from the glass and turn your baby until both eyes are softly lit. If you see a hard-edged patch of sun, move farther into the room or draw a sheer curtain. You do not need a sun-filled nursery or a particular time of day.
Find your best light before bringing in the baby
Check the room while your baby is settled elsewhere with another adult or in a safe place. Turn off ceiling lights and lamps, then stand where you expect the face to be.
Hold your hand upright and rotate it. Good portrait light gives a gentle change from bright to shaded with a soft shadow edge. A hard line from white to deep shadow means direct sun. If the phone raises brightness dramatically, the room may be too dim for movement.
Take a test photograph of your hand or another adult’s face. This reveals problems that are hard to see by eye, including a green cast from tinted glass, orange light from timber floors or a blown-out white curtain.
Once you have found the spot, clear only the immediate area. A plain section of floor beside a living-room window is often more useful than a decorated nursery with a small window.
Understand how Australian homes receive sun
Window direction gives you a starting point, but neighbouring buildings, eaves, verandahs, trees and seasons can change the result. Check the actual light in your home rather than relying on a compass alone.
In Australia, north-facing windows generally receive more sun across the year. South-facing rooms often have steadier indirect light. East-facing windows tend to receive direct morning sun; west-facing windows can become harsh and hot in the afternoon.
Make a simple note in your phone after checking each room: living room: soft 8–10 am, bedroom: bright after 2 pm, or nursery: direct sun until 9 am. You will know where to go next time instead of testing the whole house while your baby waits.
Build a safe window-light setup
For an awake baby, use a firm play mat or plain blanket flat on the floor, parallel to the window. Stay clear of curtains, blind cords, power points and unstable furniture. Keep an adult within arm’s reach.
Position the top of the baby’s head roughly towards the window so light travels from forehead to chin. This creates catchlights and a natural shadow under the nose.
For a newborn, seat a parent sideways near the window with both feet supported. Turn their chest about 45 degrees towards the light while they hold the baby in a secure, ordinary cuddle. Rotate the adult, not the baby, to adjust the light.
If the baby is sleeping, keep their usual safe sleep arrangement unchanged: on their back in a clear, firm, flat sleep space with their face and head uncovered. Do not add cushions, loose blankets, toys or a padded nest to improve the photograph. Move yourself to the light rather than moving safe-sleep items into or out of the cot for styling.
Use four reliable light directions
Side light for shape and detail
Place the window to one side and photograph from the darker side or near the baby’s feet. Side light reveals eyelashes, hair and fingers. If the far cheek is too dark, rotate the parent slightly towards the window or move farther from the glass.
Front light for expressions and groups
Stand with your back near the window without blocking it. Front light suits siblings and moving babies because it stays even as they shift. Angle the group slightly if faces look flat.
A 45-degree angle for everyday portraits
Place the window halfway between the front and side of the face. This forgiving setup suits a seated baby or parent holding a newborn. If the far eye becomes dark, turn the parent or baby’s attention slightly towards the window.
Backlight for atmosphere, used carefully
Put the window behind the parent and baby for a bright outline. Tap the face and raise brightness slightly. Backlight is difficult for phones, so use it for a silhouette or wide scene; choose side light for clear expressions.
Soften harsh sun without buying equipment
A hard-edged rectangle of sun on the floor is a sign to adjust. Do not place a baby in direct sunlight for the sake of a brighter photo.
Move farther back, draw a neutral sheer curtain with its cord secured out of reach, or use open shade just inside a doorway or under a solid verandah roof. Keep the baby protected from heat and UV.
Avoid unstable stands or boards near a baby. A white wall opposite the window can lift shadows. Do not use a mirror as a reflector because it can send concentrated sun towards faces and eyes.
Expose baby skin accurately on a phone
Tap the nearest eye or cheek, then lower brightness until pale skin and white clothing retain texture. Phones often brighten dark scenes aggressively, causing blur and grain, so move closer to the window before raising exposure.
Check the saved photograph for sharp eyelashes and believable skin colour. Automatic cameras can misread any skin tone against a pale blanket or dark sofa. Tap the face, adjust slightly and do not use filters that lighten skin or remove natural colour.
Match the light to the photograph
Use side light for newborn fingers, toes, lips and hair. Keep the phone parallel to the detail while a parent supports the baby.
Use front or 45-degree light for awake floor play so movement stays evenly lit. Photograph supervised tummy time only when it is already part of the baby’s awake routine, not solely for a picture.
For a parent and baby, start with the parent looking down, then ask them to glance towards the window. For siblings, use broad front light, keep everyone on the floor and give the older child a simple action such as showing a book.
Work with weather instead of fighting it
Overcast days spread the light; move closer to the window and check for blur. On clear days, work before direct sun reaches the room or use the shaded side of the house. Move rooms if the parent or baby feels warm.
If you plan to photograph outdoors, check the local UV forecast as well as the temperature. Cancer Council Australia recommends keeping babies under 12 months away from direct sunlight when UV levels are 3 or above and using a combination of shade, protective clothing and other sun-protection measures. Outdoor shade can still contain reflected UV, so a pretty patch of light is not a reason to relax sun protection.
Troubleshoot the light you have
One side of the face is black
Turn the face towards the window or move farther back. Do not add an orange ceiling light; mixed light is difficult to correct.
Skin looks orange, green or grey
Use daylight alone and move away from strongly coloured walls or curtains. Adjust warmth and tint lightly in editing.
The eyes have no sparkle
Lower the camera to eye level and turn the face slightly towards a window. Do not use direct sun or a bright torch to manufacture catchlights.
The background is brighter than the baby
Change sides so the window becomes front or side light. If you keep the background, expose for the face and accept a white window rather than using heavy HDR.
The room is still too dark
Open curtains, use the largest window and the 1x camera, then wait for a still moment. If photographs still blur, try another day rather than unsettling the baby.
Natural-light checklist
- Check the room and time before involving the baby.
- Switch off ceiling lights and lamps.
- Look for soft-edged shadows, not a direct sun patch.
- Clear cords, unstable objects and trip hazards.
- Use a floor-level setup or a secure parent cuddle.
- Turn the baby’s face towards side or 45-degree window light.
- Tap the nearest eye or cheek and protect skin highlights.
- Move the setup before adding equipment.
- Check comfort, room temperature and UV conditions.
- Stop when your baby needs feeding, sleep or a change.
Frequently asked questions
Is morning light always best for baby photos?
No. Morning light suits some east-facing rooms, but direct sun can be harsh. The best time is when your chosen room has bright, indirect light and your baby is usually settled. Test the room at two or three times and note the easiest window.
How far should my baby be from the window?
Start one to two metres back, then adjust. Move closer on a dark, overcast day and farther back if the light is hard or the baby feels warm. Distance depends on the window size, glass, eaves and weather.
Can I put a newborn in sunlight through a window?
Do not use direct sun as a photography setup. It can be harsh, warm and uncomfortable, and glass does not make sun exposure a treatment for jaundice. If you have concerns about jaundice or your baby’s health, contact your midwife, child health nurse or GP rather than using sunlight.
Should I use a ring light with a baby?
You do not need one for natural-light photographs. A large window gives a softer result and removes another stand and cable from the space. If natural light is insufficient, wait for a brighter time rather than placing a strong light close to your baby’s face.
What colour background works best near a window?
White, soft grey and muted colours reflect light predictably, but the best background is often what is already safe and available: a plain wall, the parent’s clothing or a flat play mat. Strong red, green or orange surroundings can cast colour onto skin.
Australian safety and sun-protection sources
- Sun protection and babies: Cancer Council Australia
- BOM Weather app: Bureau of Meteorology
- Safe sleep for babies: Pregnancy, Birth and Baby
- Safe Sleep Image Guide: Red Nose Australia
- Change tables guide: ACCC Product Safety
These sources inform the safety and UV guidance in this article. Photography advice is general information and does not replace advice from your GP, child health nurse or another qualified health professional.